TLDR
Pool excavation takes 1-3 days depending on size and access. Heavy equipment digs the pool cavity, shaping it according to design specifications. Expect disruption to your yard, noise, and equipment access requirements. Proper site preparation and utility marking prevent costly delays and damage.
Pre-Excavation Preparation
Before any digging begins, all underground utilities must be marked. Contact your local utility marking service (811 in most areas) at least 72 hours before excavation. They'll mark gas lines, electrical cables, water mains, sewer lines, phone lines, and cable TV. This free service prevents dangerous and expensive utility strikes. Don't skip this step—hitting a gas line or electrical cable causes injuries, service interruptions, and repair costs ranging from hundreds to thousands of dollars.
Equipment access is critical. Excavators need to reach the dig site and haul away dirt—typically 400-600 cubic yards for an average pool. Most projects require a path at least 10-12 feet wide for equipment. If you have a fenced backyard, contractors may need to remove fence sections temporarily. Some properties with difficult access require smaller equipment or hand digging portions, increasing time and cost. Identify access routes early and remove obstacles like gates, landscaping, or structures blocking the path.
Clear the work area of furniture, decorations, grills, or anything breakable. Heavy equipment working nearby creates vibration and risk of damage. Protect nearby structures like sheds, air conditioning units, or gardens. Inform neighbors about the upcoming work—excavation is noisy and disruptive, but advance notice maintains good relationships.
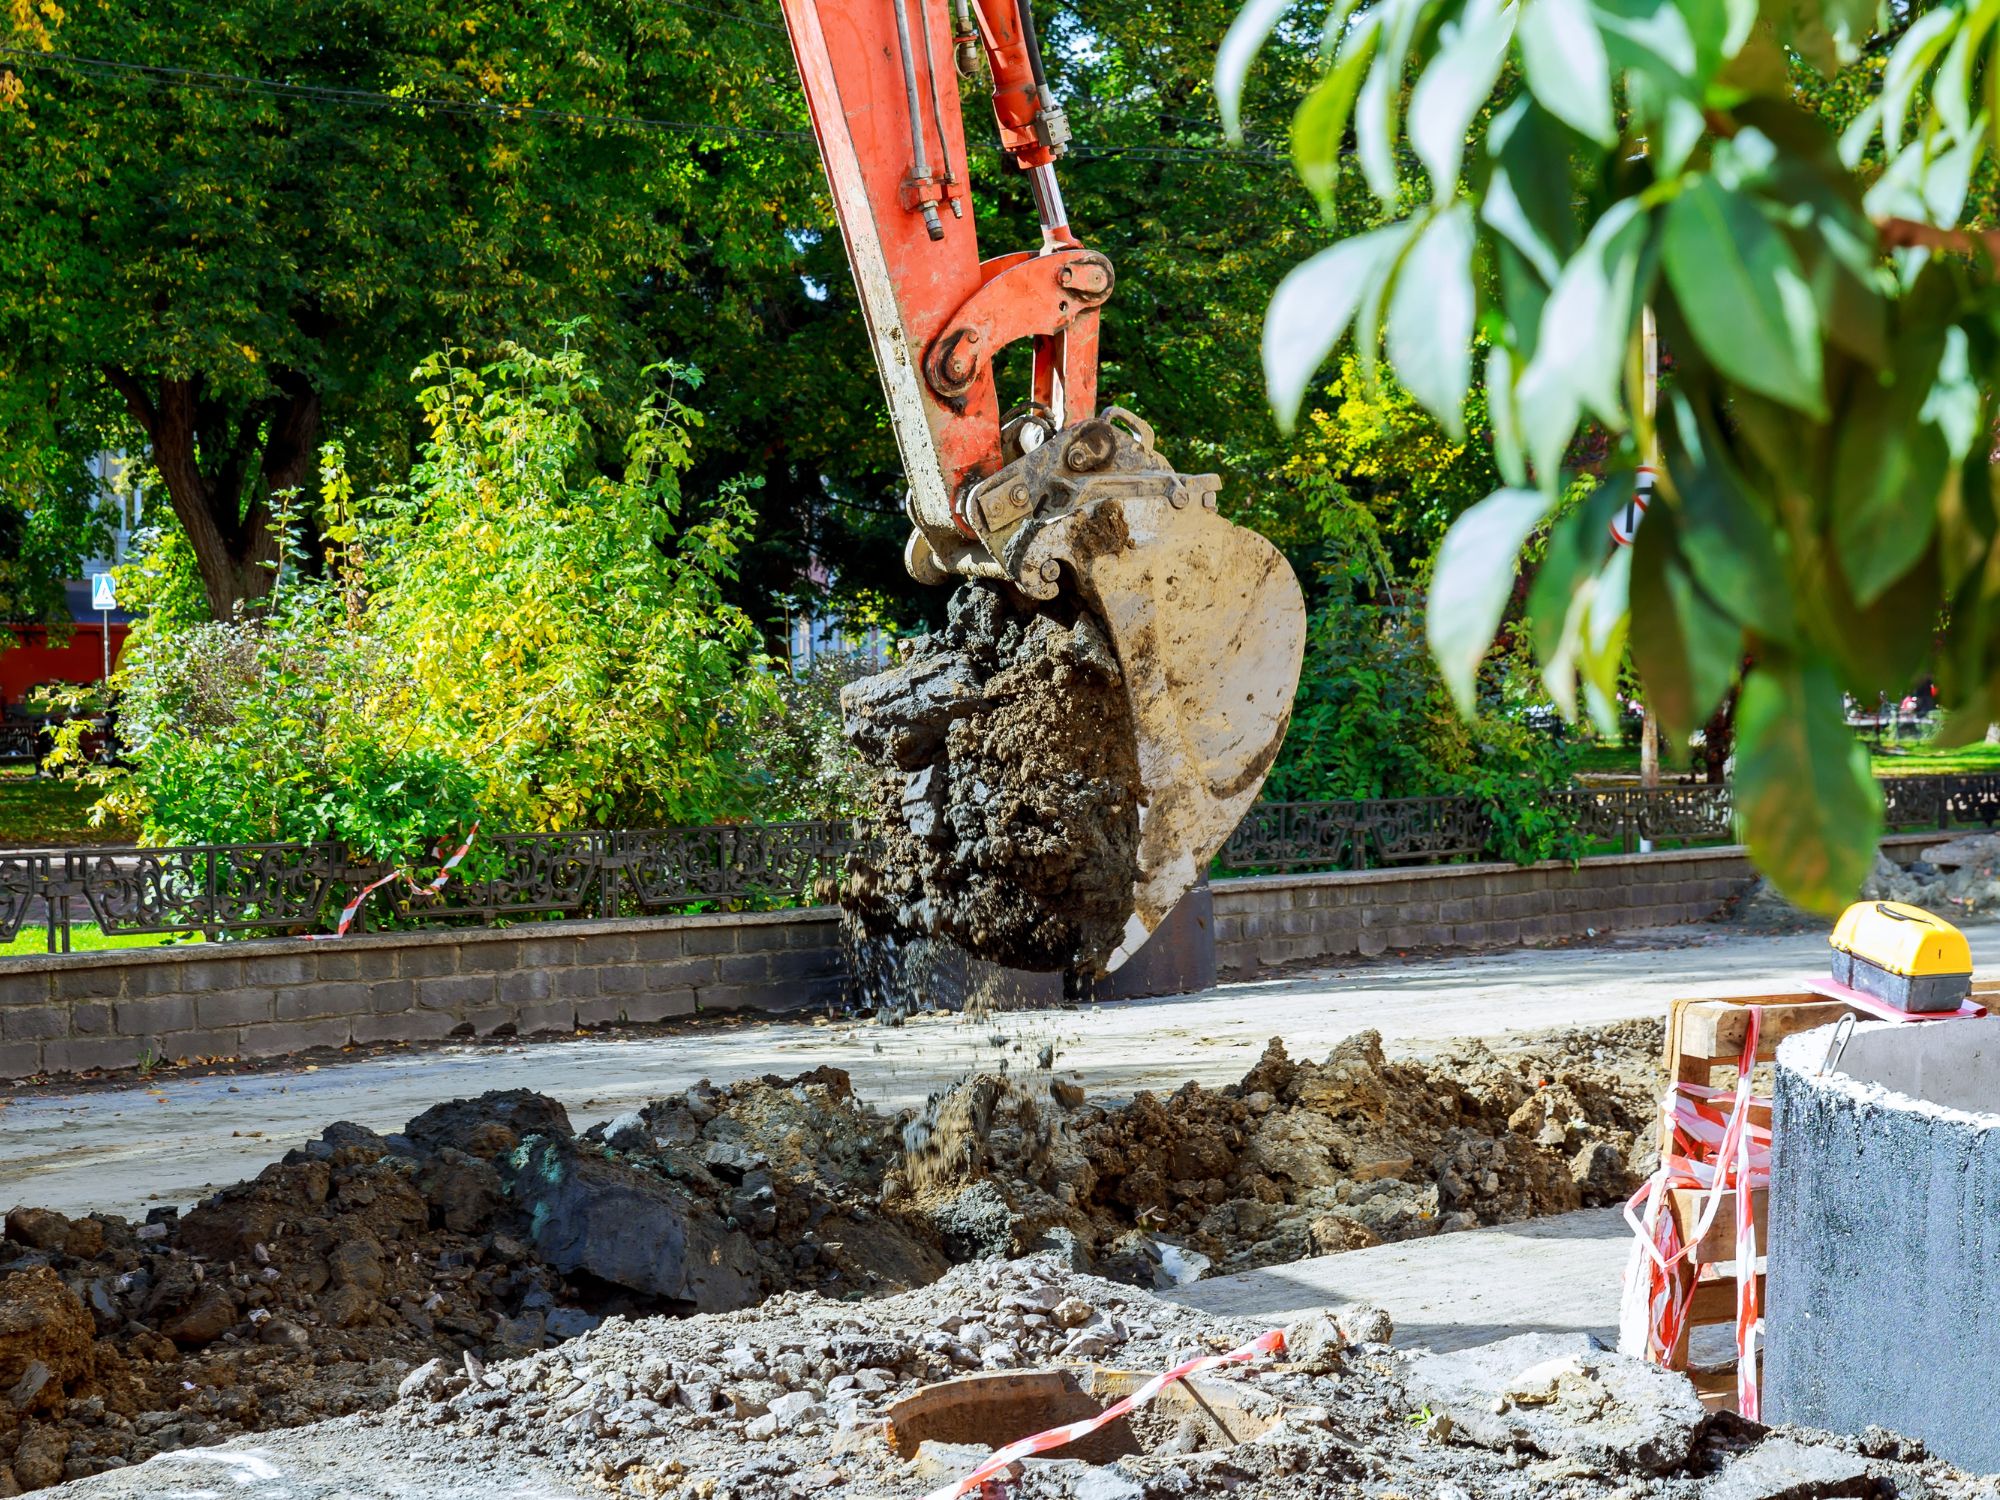
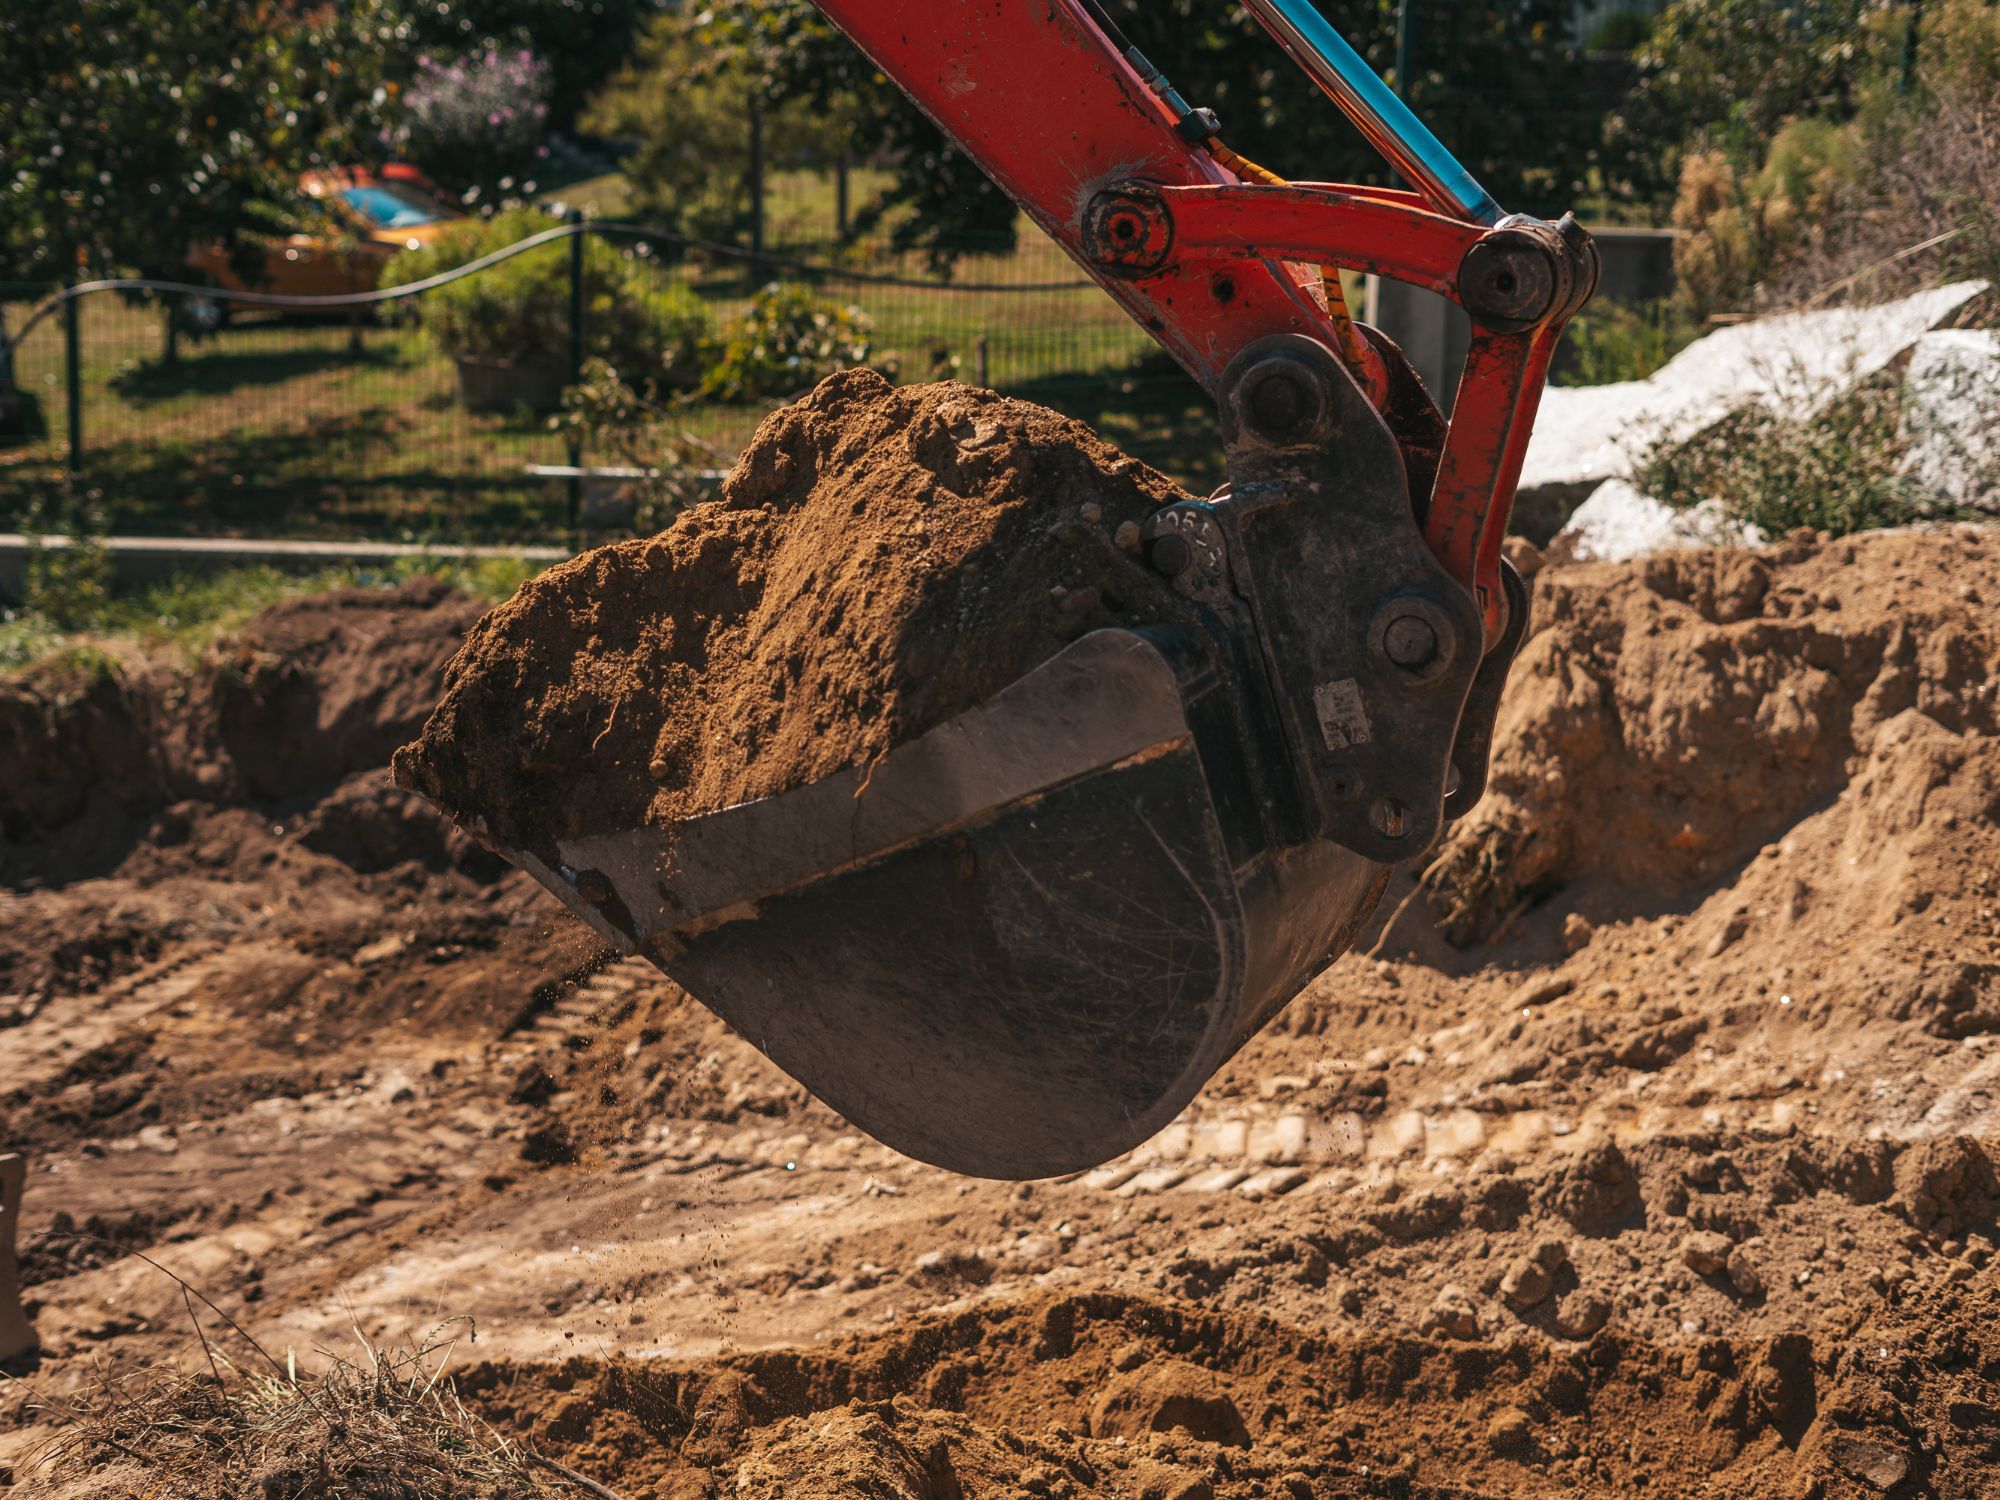
The Excavation Process
Excavation begins by marking the pool outline precisely according to plans. Contractors stake the perimeter and verify all measurements before digging. Initial digging removes the bulk of soil, creating the rough pool shape. Excavators work gradually deeper, following the depth profile for the shallow end, slope, and deep end.
As excavation progresses, contractors create the proper floor slope—typically sloping gradually from shallow to deep end. They shape benches for steps, tanning ledges, or swim-outs according to design. Precision matters here; the excavated cavity must match plans exactly since the pool shell builds directly on this foundation.
Removed dirt gets hauled away or spread elsewhere on your property if you have space and permission. Some homeowners use fill dirt for landscaping projects, but most residential lots can't accommodate 400-600 cubic yards of extra dirt. Hauling costs are typically included in excavation pricing, but verify this before work begins.
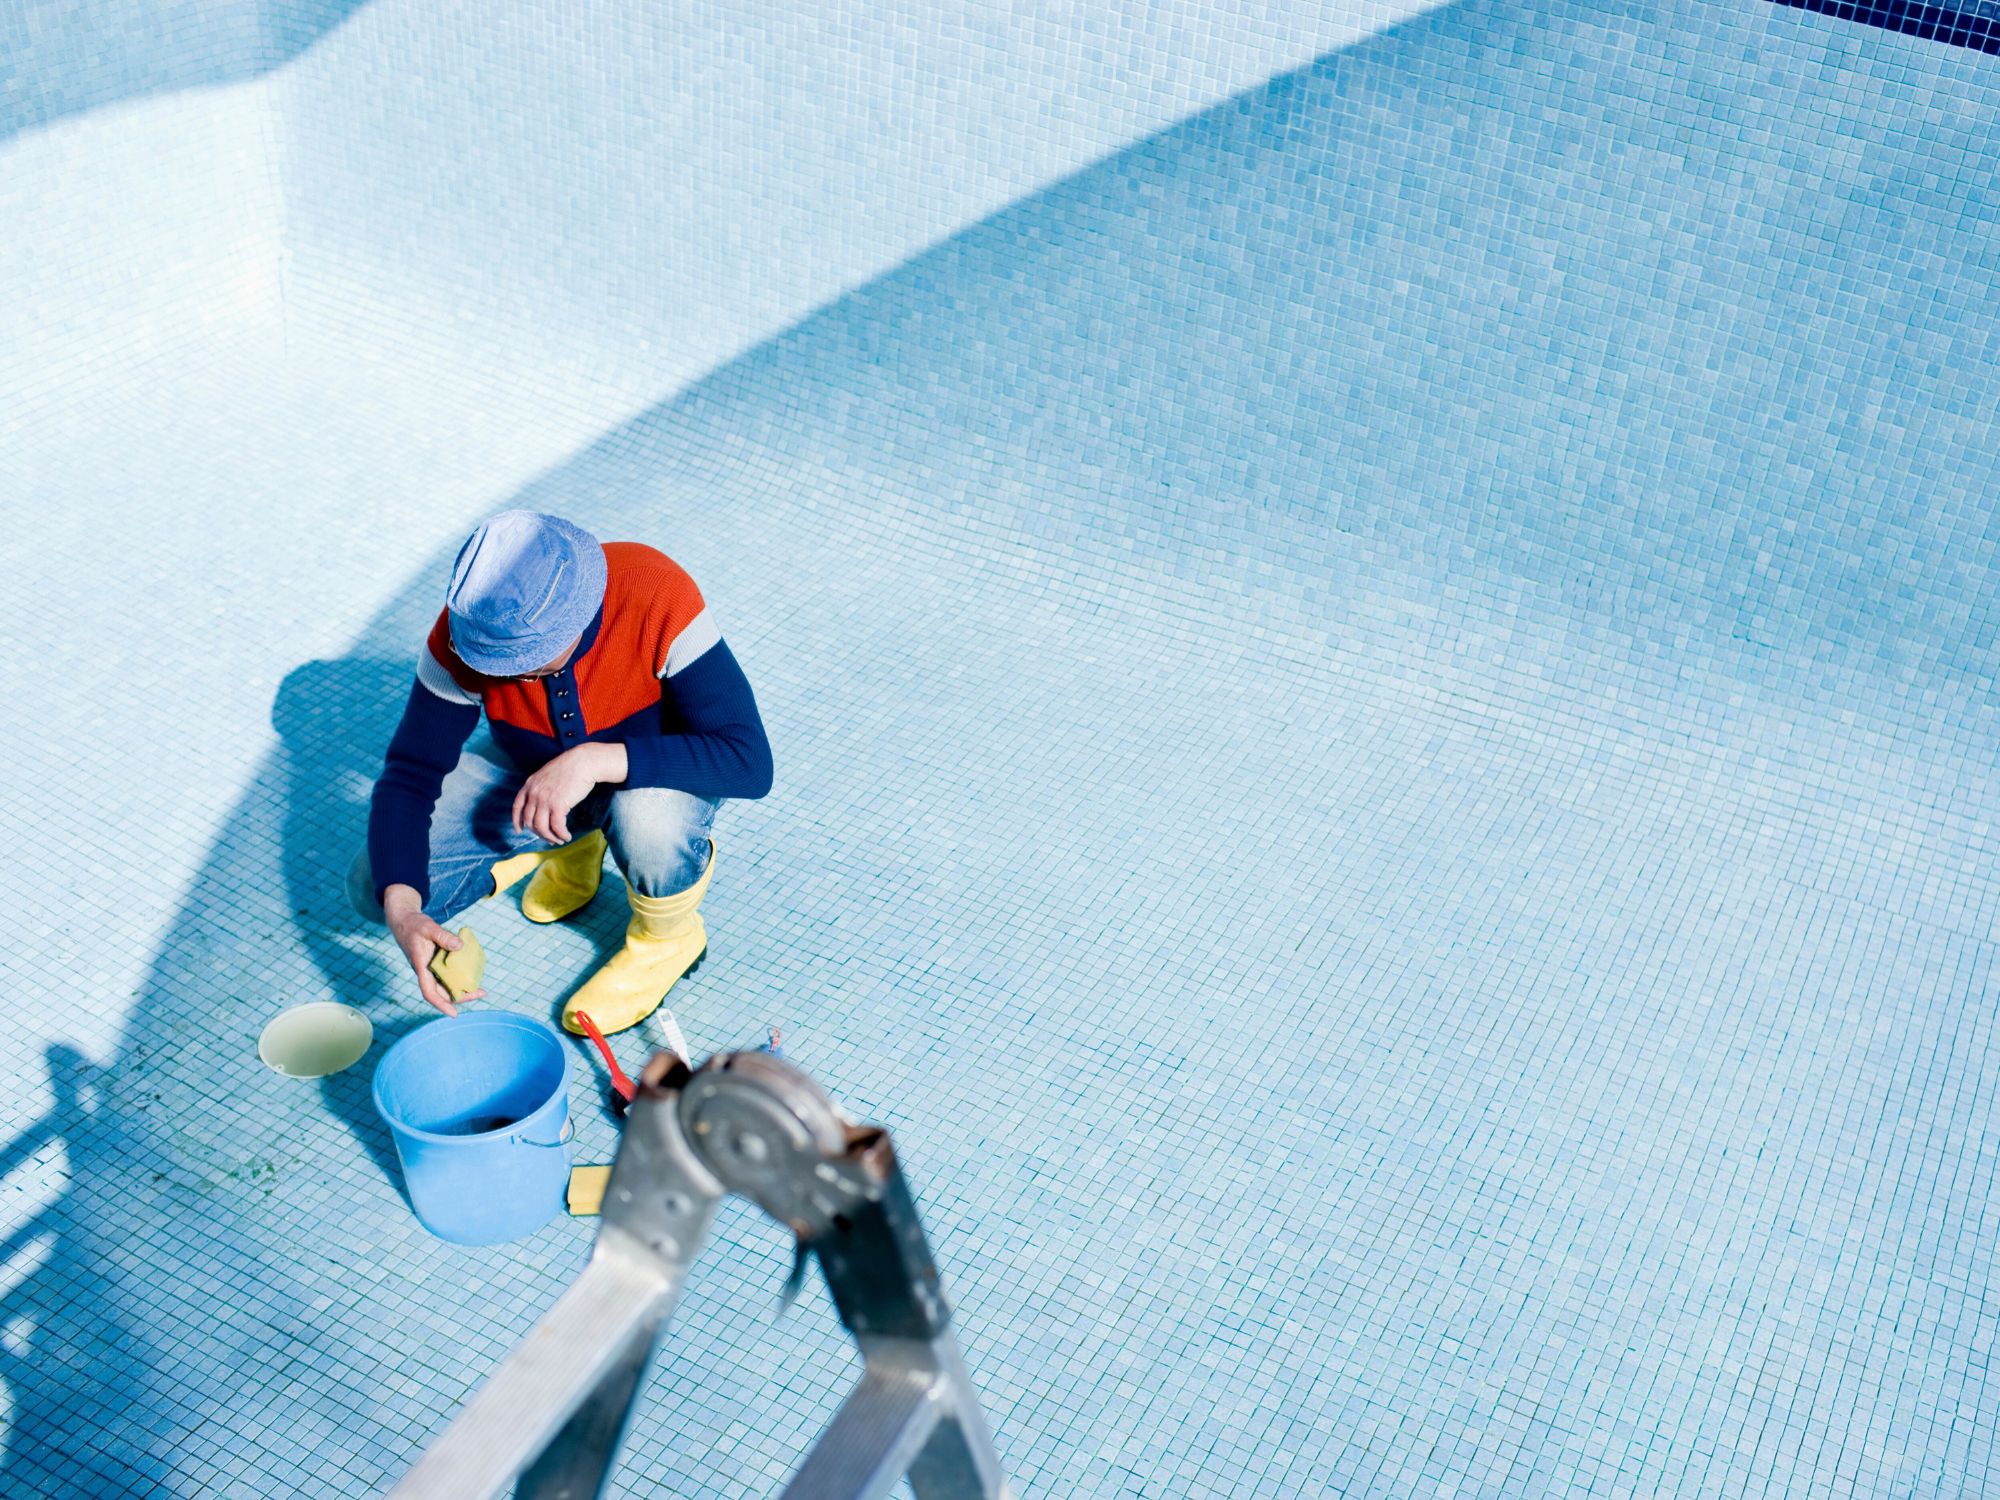
After Excavation
Once excavated, the site needs prompt protection. Rain can cause erosion, collapsing walls, or flooding the cavity. Most contractors stabilize the excavation quickly by installing the steel reinforcement framework within days of digging. This framework supports the cavity walls and begins the pool structure.
Expect your yard to look terrible temporarily. Heavy equipment creates ruts, compacted areas, and tracked-in mud. The area around the pool site will be rough until after the pool shell is complete and final landscaping begins. This is normal—focus on the end result rather than the temporary disruption.
If excavation reveals unexpected conditions—bedrock, underground water, old foundations, or unsuitable soil—delays and additional costs may result. Most contractors plan for reasonable contingencies, but significant surprises affect schedules and budgets. Experienced contractors in your area typically know what to expect from local soil conditions.